Bishop Street Methodist Church

Art at the Chapel Explorations into Art and Spirituality


1 Comment

Fabric Banner Making Tips

BISHOP STREET BANNER MAKING WORKSHOP PART 3

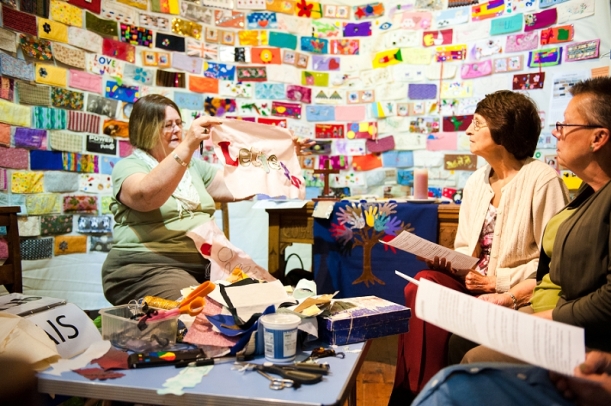
Chris Watkins from the East Leake Banner making group led our third workshop. With many years experience as a textile teacher and accomplished fabric artist  Chris inspired us with a vast array of tips and techniques.
banner workshop full res-25

Some tips for making Fabric Banners

Written by Chris Watkins

Backgrounds

I would advise the use of woven fabric for the background. A wide variety of woven fabric available from basic calico to expensive jacquards- Woven fabrics are more stable. Stretchy /Knitted fabrics can be stabilised with interfacing but more difficult to work with and I would suggest only used for small areas, i.e. leaves, animals etc

Don’t allow the background fabric to overpower the design- ensure design colours standout. Ensure that the fabric is cut out on the straight grain- running parallel with the threads in the fabric – top to bottom and side to side. Allow extra fabric at edges to turn under or add backing. At least 6” or 15 cms. I have assumed that the final product cannot be washed so a variety of fabrics can be used. If it is intended that the final item may be washable then the fibre content of fabric and the products used is limited.[see Chris.]

Design

Keep designs simple: Templates shapes can be drawn or free designs from internet i.e. leaves, animals, people etc. Note Copyright- it is illegal to use a design unless it is offered as free or permission is granted by the designer. If a group of people are working on a Banner, look at being able to breakdown the design, so several people can work on the design at one time. Make a design of components and then put them all together.

Colour

The use of colour is very important – Background do not want to dominate. Design needs to stand out. Be prepared to move around and play with the elements to get the best result.
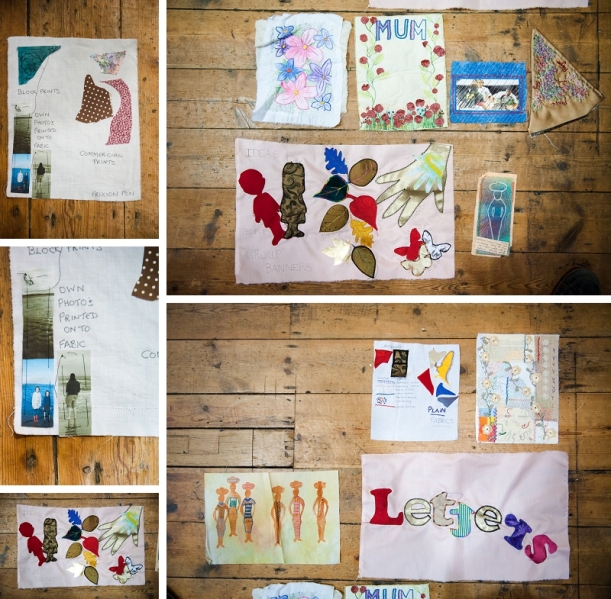
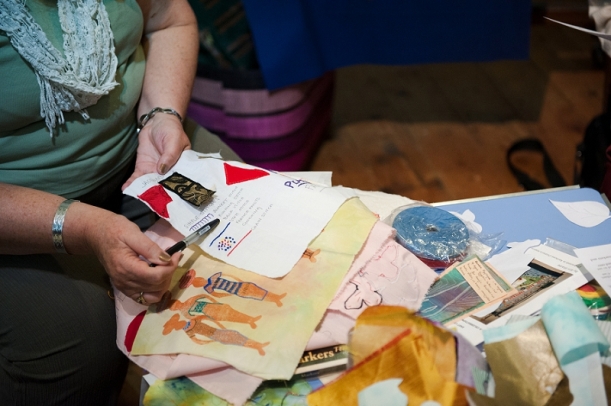
banner workshop full res-30Chris brought lots of samples to illustrate her talk which included how to transfer photographs onto fabric.

Techniques

Applique: Cutting out fabric shapes and applying to a background, Quilting, stitching lines or a pattern by hand or machine through layers of fabric.

Embroidery: Cross stitch – using even weave fabric and embroidering a design following a chart. Bondaweb – fusable web used to stick shapes onto background using an iron. Can drawn on the paper side- REMEMBER to REVERSE IMAGE.

Fabric paint: Variety available- follow instructions may need to be ironed to set.

Transfer crayons/paint: Similar to wax crayons – design drawn or painted ono parer and ironed onto man-made fabrics – polyester.

Computer transfer prints: Special papers can be bought at good supermarkets and printed on home computer.
Your Photos onto fabric. – several methods ask Chris.
banner workshop full res-26

Lettering

Keep straight and look at spacing – measure accurately

Fabric: Cut out letters [use bondaweb [remember to reverse on paper backing] and then couch braid around the edge and stab stitch lettering or use blanket or chain stitch over edge of letters]

Printed letter blocks can be purchased or made from foam sheet

Painted lettering: Plenty of practise and a steady hand needed

Adding decoration

 A variety of decorations can be used -beads, sequins, braid cords, tassels, etc Ensure that they are well attached. Use strong thread and sew on well.

Finishing off

Wadding: A layer of cotton/polyester wadding is added to the back of the design, to give extra support and body to the banner.

Backing: A suitable piece of fabric will need to be applied to the back of the Banner.

Bagging out: The backing fabric is placed onto he right side of the fabric and machined around the outside edge, leaving a gap big enough for it to be turned through to the right side. This gap is them hand sewn together. OR The edges can be Bound either using an edge binding or by bring the backing fabric over the edge and on to the front of the Banner.

Weighting: It may be a good idea to add some weight to the bottom of the Banner- this may be a strip of wood or metal which can be enclosed in the bottom hem.

Hanging

Tabs: Pieces of folded fabric applied to top of banner for a piece of wood or metal to be threaded through.

Sleeve: A piece of fabric added to the back of the Banner at the top for a piece of wood to be threaded through.

Poles: Made of Metal or wood- curtain poles can be used/


Further Help

General help with a project and Banner workshops 
Contact Chris 01509 821536
Commissions: East Leake Banner group via Chris.
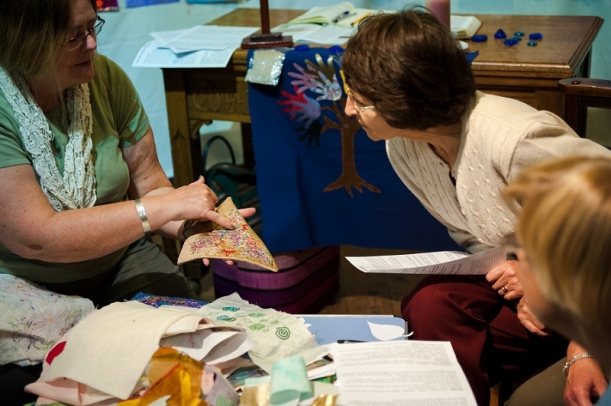
 

banner workshop full res-29

Chris shares an example of a ‘Prayer Flag’
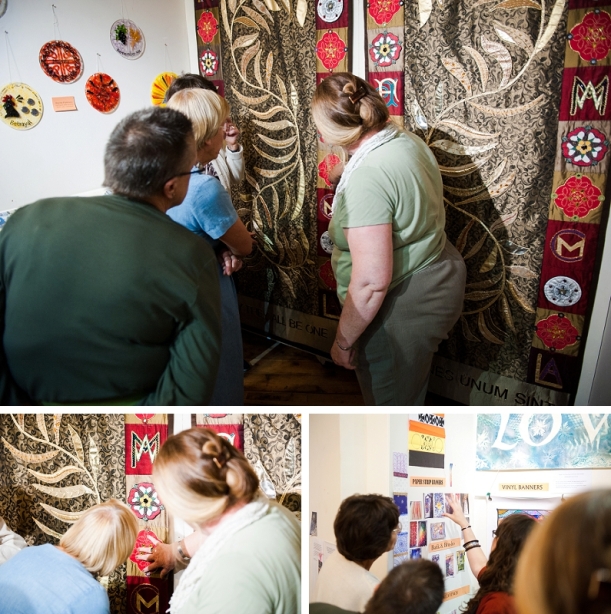
banner workshop full res-35

Chris explains how the Banner the group created for English Martyrs was made.
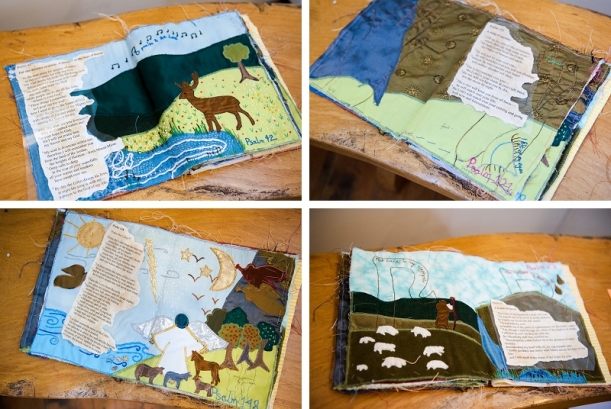
banner workshop full res-37

This fabulous book is Chris’s contribution to our Inspired by the Psalms Exhibition currently showing alongside our Banner Exhibition.
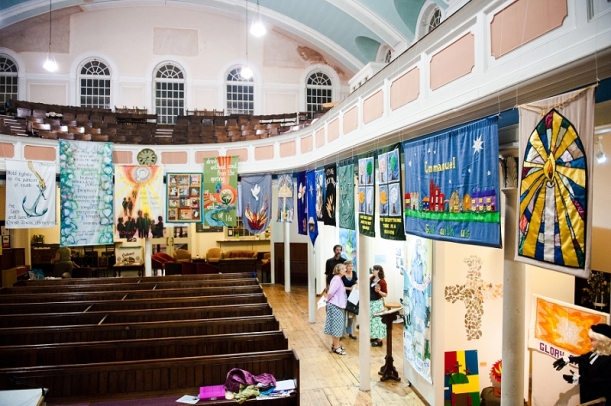
banner workshop full res-24

The exhibition is up until September 24th 2014 so if you haven’t seen it yet why not pop in and grab a coffee at the same time.
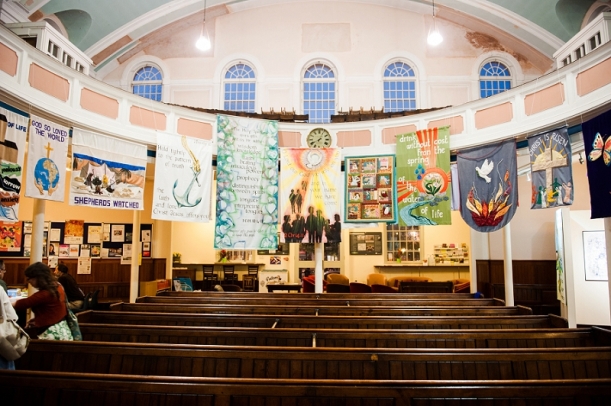
banner workshop full res-10


Leave a comment

How to make Vinyl Banners for Churches

BISHOP STREET BANNER MAKING WORKSHOP PART 2


Our second workshop was led by Steve Hammond Evans who has worked as an artist in residence at Bishop Street and is experimenting with a range of techiques to create Vinyl banners which are used in his Church at Blaby Methodist.

banner workshop full res-12

The first technique Steve demonstrated was how to turn a drawing into a huge banner that the whole congregation can get involved in. The initial drawing needs to be converted into a jpg file which is sent to a printing company to convert it into a vinyl banner. This can be done by either scanning the drawing or taking a high quality photograph of it.

Once back from the printers Steve used framers tape to ‘mask off the main area of his giant vinyl banner to ensure the border was kept fresh and white. He then armed members of his congregation with ‘sharpies’ a high quality brand of permanent coloured pens and set them to work colouring in the sections. According to Steve people really enjoyed the chance to do the colouring in even if they hadn’t done anything artistic in years! Everyone had a go and the result was a true collaboration. See the handout below for more info!

banner workshop full res-14

Next Steve went on to tell us about how he creates the artwork for his vinyl banners. Working on A3 (which he later reduces to A4 so it can be scanned)

Steve uses a range of materials including Pan Pastels which give him the rich bright colours and quick background coverage he is after. Pan Pastels come in round pots and Steve used a makeup sponge to apply them to a piece of thick, good quality paper. He then dazzled us with his electric eraser which he used to create designs in the pastel ground he had laid down! We also learnt how to use framers tape to mask off areas which could then be filled with pastel colour to create borders.

The next art product Steve demonstrated was Brusho. I have used this myself for batik work and love the intense colour it gives. Steve used a pipette to transfer a small amount of water into a bowl before adding some brusho powder and mixing whilst warning us to be careful not to drip the mixture on surfaces or get it on our hands or clothes as it is very permanent!

Again it is important to use a thick, high quality paper to apply the brusho to. The colours mix well and you can see the result in the background of the  ‘Morning has Broken’ image above which Steve is holding up with the assistance of Esther!

banner workshop full res-15

Finally Steve spoke about how he loves to use Celtic inspired knotwork in his designs as they not only tie the work together well but people like to ‘follow’ the lines with their eye which then ‘lead’ them around the image.

banner workshop full res-42

You can see some of Steve’s banners currently on display on the Bishop Street Cafe walls.

Here is a copy of Steve’s handout from the session.

Steve handout You can see more of Steve’s  work here: http://www.stevehamandeggs.com/

Celtic Christian Banner

Banner by Steve Hammond-Evans


Leave a comment

How to make a Spray Paint and Stencil Banner

BISHOP STREET BANNER WORKSHOP PART 1

A big Thank you to everyone who came to the banner workshop last night and to our wonderful workshop leaders Steve, Chris and Miriam. It was a fascinating evening jam-packed with great ideas and inspiration.

Thanks also to Dave my husband for taking these photos during the evening.

banner workshop full res-43

WORKSHOP 1

Bishop Street_0025


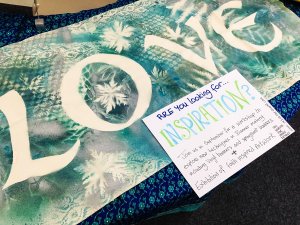
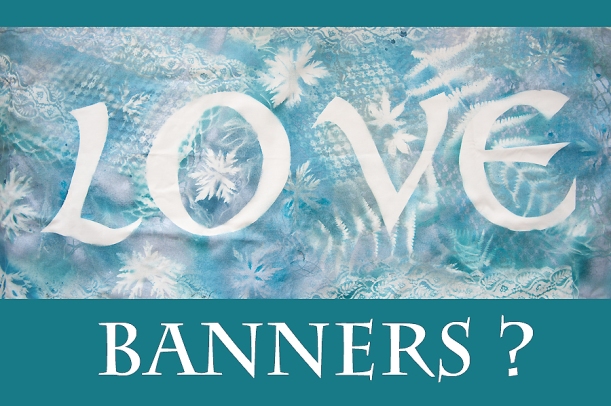
This workshop led by Miriam taught the technique I learnt from the wonderful Anne Thalmessinger who uses it in many of her own banners.  When I wanted some special banners for our wedding last year Anne showed  me this techniqueand helped me make some like the ‘love’ one in the photo which hung above the place we said our vows.

Modern Church Banner


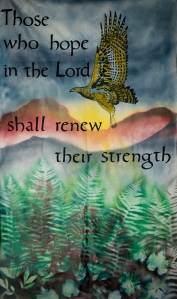
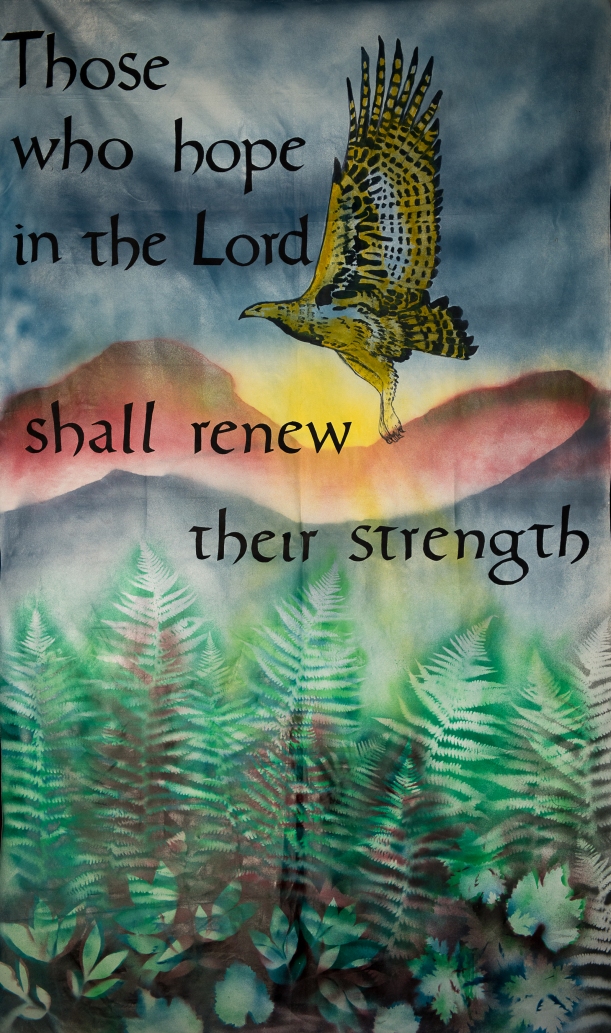
The banner on the right is one of Anne’s which shows how she often combines the spray technique with painted elements.

This technique is a quick and effective way to cover large areas of fabric in an eye catching way. It can be used to create backgrounds, borders or whole banners. It can also be used on paper and to decorate things like t-shirts or bunting.


banner workshop full res-1

If you want to create stencil lettering or other drawn elements you first cut them out of paper and use double sided tape to fix them to your fabric. This ensures they don’t get ‘blown away’ with the force of the spray paint.

banner workshop full res-3

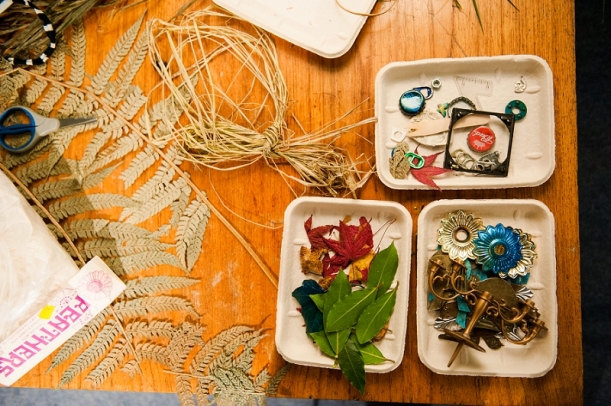
Our table of treasures, flat things make the best stencils, especially natural objects like leaves and grasses. Lace, paper dollies and bits of rubbish such as bottle caps all work well. Lighter objects such as feathers will need a spot of double sided to stick them down.

banner workshop full res-2

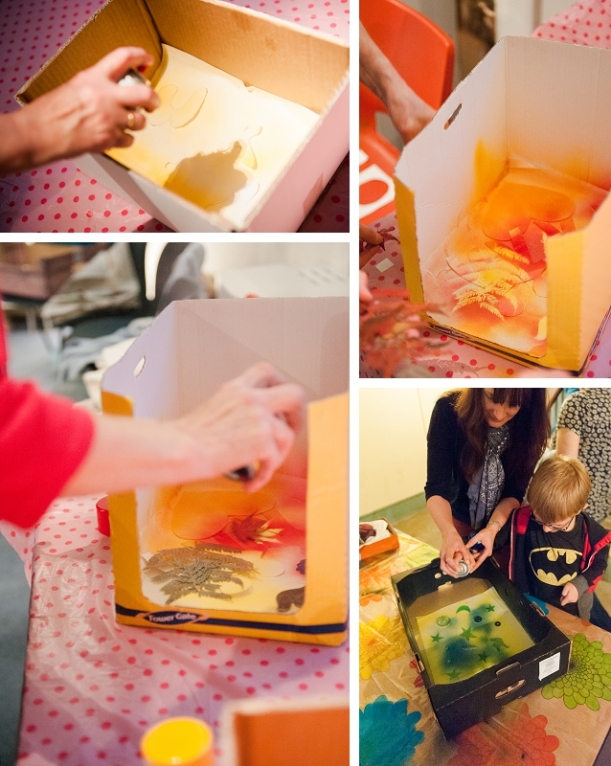
We used boxes to place our fabric and objects in to help prevent spraying the walls and carpet!! Our fabric came from our local scrap store. Its important to spray directly down to avoid moving the objects. Don’t spray too close put leave above a 15 cm gap between the spray and the fabric. Build up your colours gradually in layers. You may like to move some objects in between colours. We used enamel craft spray from wilkos but any spray paint e.g. car spray paint will do. Why not do a call out at church for any unwanted cans?

banner workshop full res-45

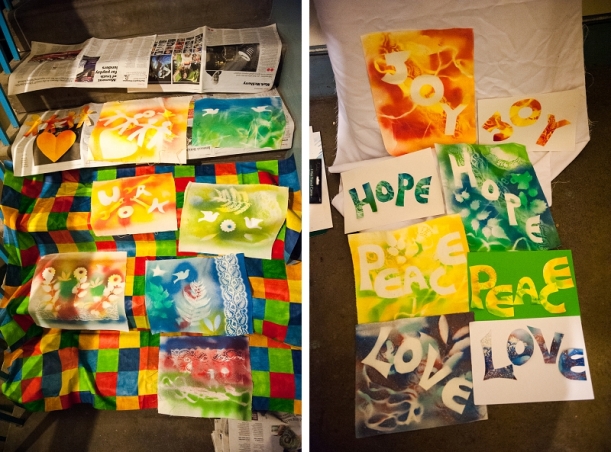
As each workshop was only 20 minutes long including the demonstration the above pieces were made in just over 10 minutes each! If you want a quick and very effective banner making technique why not give it a go!

Modern Church Banner

Banner by Anne Thalmessinger and Sally Clarke showing the spray technique Ruth will be demonstrating.


Love Banners web