Bishop Street Methodist Church

Art at the Chapel Explorations into Art and Spirituality


Leave a comment

Weaving Women’s Wisdom | Session 1

Today our group of Sikh, Muslim and Christian women shared stories of wise women from our lives and faiths – we found many common themes in our tales – the generosity and welcome of an house with an open door, the importance of sharing skills and wise words through generations, how to help others is to help God, stories of women of courage, strength and a positive approach in adversity, how God is always there to support us so never say never and just give things a go! We also shared inspirational stories about Khadija, Mai Bhago, Mary, Ruth, Naomi and other amazing women from our different faith traditions. A big thank you to the ladies from Touchstone Bradford for coming all this way to introduce the project and teach us these wonderful rug making techniques

2015-01-29_0002

Rada brought in some beautiful weavings to share with us made by members of her family in Serbia. Although they were made a long time ago it was amazing how contemporary they look!

2015-01-29_0001

Ruth and Jenny from Touchstone had brought in some examples of rugs in the process of being woven to show us the various techniques that we could use. They also gave us a goodie bag with some tools, wool and the base webbing for us to create our own rug with.

2015-01-29_0003

You can even create text!

We decided we wanted our design to contain an open door to symbolise the importance of being welcoming and generous to others, the flower or Maryam / Mary which is often used today to help women in labour as a symbol of strength in adversity, the names of the women who are special to us and a patchwork made of pieces of cloth that have a special meaning to women in the group. (Find out more about the amazing flower of Maryam here)

Next Wednesday we will begin to create our weaving!


Leave a comment

Weaving Women’s Wisdom

WWW header image

WE ARE LOOKING FOR WOMEN INTERESTED IN . . .

           Sharing stories from our different faith traditions.

           Spending time together, building friendships.

           Remembering Wise Women who have influenced us.

           Designing and making a woven carpet rug.

           Being part of a national project and touring exhibition.


CREATIVE FRIENDSHIP BUILDING PROJECT:

This is a creative national project  to encourage new and existing groups of women from different faith communities to join together in weaving rugs. These will eventually be gathered together to make a travelling exhibition, “Weaving Women’s Wisdom”. Whilst they weave, groups are encouraged to have conversations around wisdom, remember wise women that have influenced their lives and faith, share important stories from tradition and scriptures and to reflect on the wisdom that they have both experienced and shared. The purpose of this project is to enable women and girls to have safe space to share their stories and to form honest and joyful interfaith friendships. The project runs from Sept 2014 to end of March 2015.

The national project is co-ordinated by The Touchstone Centre in Bradford. Touchstone, a centre for Methodist interfaith work is a ‘listening community’ with the vision of making safe places of hospitality where people of different backgrounds can listen to and talk with each other. Art at the Chapel is facilitating a Leicester group to be part of this exciting project.

TIMES AND VENUES: 

You are welcome to join us for any of the sessions below. It is fine to ‘pop in’ and help during any of these times even if you can only spare half an hour!

WED 28th Jan 2015: 1pm  – 3pm Bishop Street Methodist Church. An introduction to the project and chance to meet each other.

Wed 4th Feb 2015: 12:00 – 4pm Bishop Street Methodist Church: Starting to create our rug

SAT 7th Feb 2015: 11:00am – 2pm Bishop Street Methodist Church: Working together on our weaving.

WED 11th Feb 2015: 10.30 – 11.30 am Sharma Women’s Center, 39-45 Sparkenhoe Street, Leicester,  LE2 0TD, 0116 251474

WED 18th Feb 2015: 12:00 – 4pm Bishop Street Methodist Church: Trying to complete our rug

WHO CAN GET INVOLVED:  Women of all ages from all faith traditions.

GET IN TOUCH: If you would like to get involved or simply want to find out more.

Please contact Ruth at   Tel: 0116 255 4111


1 Comment

Fabric Banner Making Tips

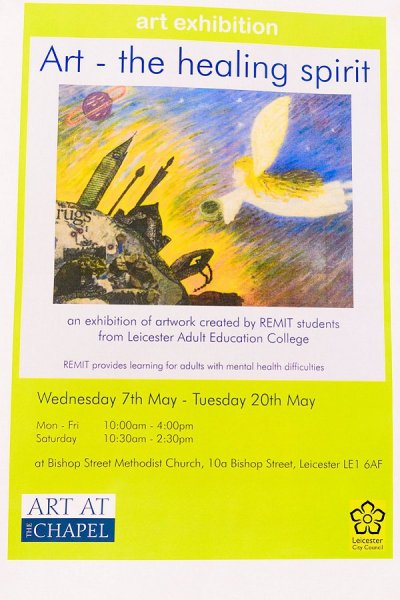
BISHOP STREET BANNER MAKING WORKSHOP PART 3

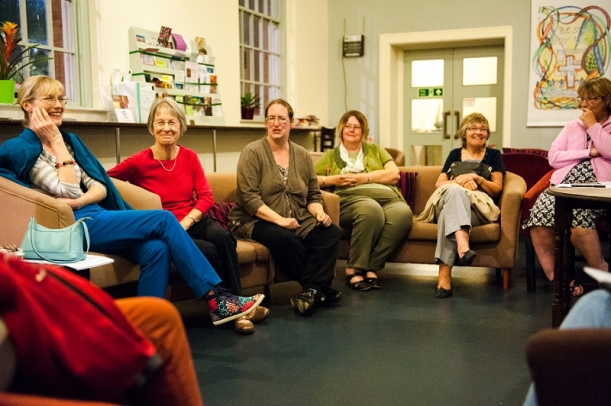
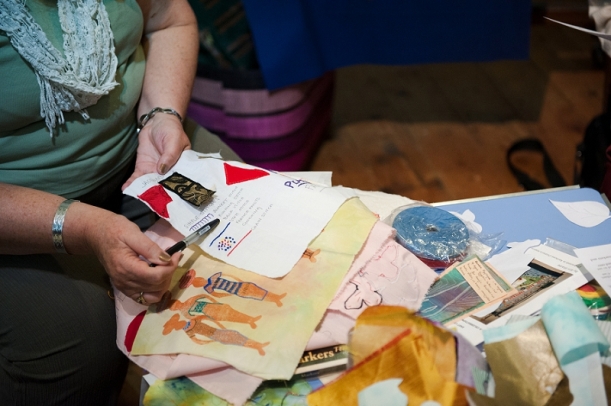
Chris Watkins from the East Leake Banner making group led our third workshop. With many years experience as a textile teacher and accomplished fabric artist  Chris inspired us with a vast array of tips and techniques.

banner workshop full res-25

Some tips for making Fabric Banners

Written by Chris Watkins

Backgrounds

I would advise the use of woven fabric for the background. A wide variety of woven fabric available from basic calico to expensive jacquards- Woven fabrics are more stable. Stretchy /Knitted fabrics can be stabilised with interfacing but more difficult to work with and I would suggest only used for small areas, i.e. leaves, animals etc

Don’t allow the background fabric to overpower the design- ensure design colours standout. Ensure that the fabric is cut out on the straight grain- running parallel with the threads in the fabric – top to bottom and side to side. Allow extra fabric at edges to turn under or add backing. At least 6” or 15 cms. I have assumed that the final product cannot be washed so a variety of fabrics can be used. If it is intended that the final item may be washable then the fibre content of fabric and the products used is limited.[see Chris.]

Design

Keep designs simple: Templates shapes can be drawn or free designs from internet i.e. leaves, animals, people etc. Note Copyright- it is illegal to use a design unless it is offered as free or permission is granted by the designer. If a group of people are working on a Banner, look at being able to breakdown the design, so several people can work on the design at one time. Make a design of components and then put them all together.

Colour

The use of colour is very important – Background do not want to dominate. Design needs to stand out. Be prepared to move around and play with the elements to get the best result.

banner workshop full res-30
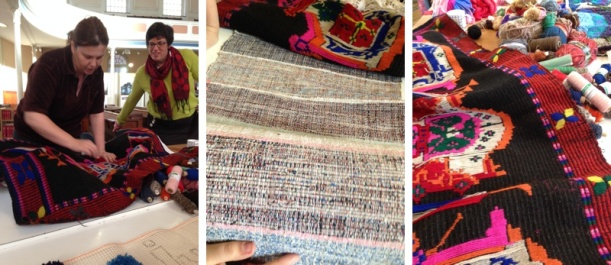
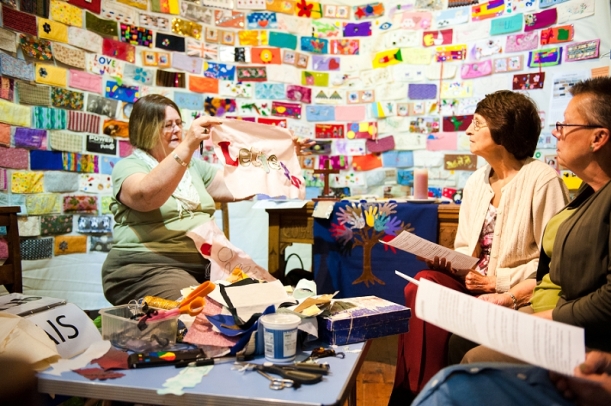
Chris brought lots of samples to illustrate her talk which included how to transfer photographs onto fabric.

Techniques

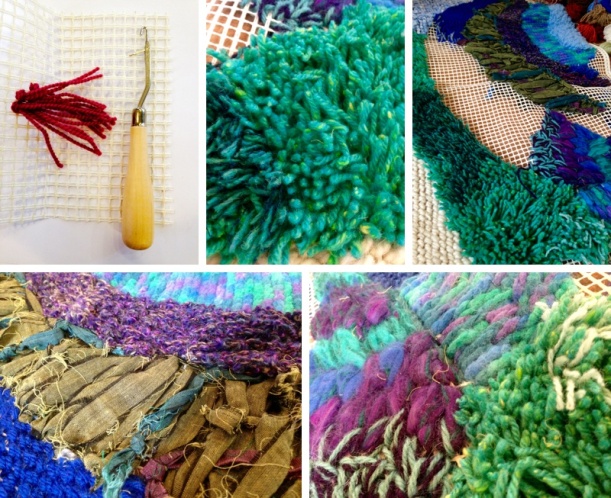
Applique: Cutting out fabric shapes and applying to a background, Quilting, stitching lines or a pattern by hand or machine through layers of fabric.

Embroidery: Cross stitch – using even weave fabric and embroidering a design following a chart. Bondaweb – fusable web used to stick shapes onto background using an iron. Can drawn on the paper side- REMEMBER to REVERSE IMAGE.

Fabric paint: Variety available- follow instructions may need to be ironed to set.

Transfer crayons/paint: Similar to wax crayons – design drawn or painted ono parer and ironed onto man-made fabrics – polyester.

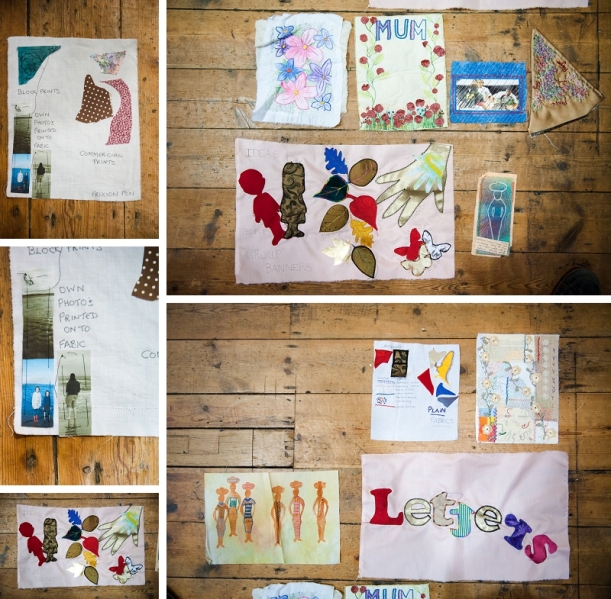
Computer transfer prints: Special papers can be bought at good supermarkets and printed on home computer.
Your Photos onto fabric. – several methods ask Chris.

banner workshop full res-26

Lettering

Keep straight and look at spacing – measure accurately

Fabric: Cut out letters [use bondaweb [remember to reverse on paper backing] and then couch braid around the edge and stab stitch lettering or use blanket or chain stitch over edge of letters]

Printed letter blocks can be purchased or made from foam sheet

Painted lettering: Plenty of practise and a steady hand needed

Adding decoration

 A variety of decorations can be used -beads, sequins, braid cords, tassels, etc Ensure that they are well attached. Use strong thread and sew on well.

Finishing off

Wadding: A layer of cotton/polyester wadding is added to the back of the design, to give extra support and body to the banner.

Backing: A suitable piece of fabric will need to be applied to the back of the Banner.

Bagging out: The backing fabric is placed onto he right side of the fabric and machined around the outside edge, leaving a gap big enough for it to be turned through to the right side. This gap is them hand sewn together. OR The edges can be Bound either using an edge binding or by bring the backing fabric over the edge and on to the front of the Banner.

Weighting: It may be a good idea to add some weight to the bottom of the Banner- this may be a strip of wood or metal which can be enclosed in the bottom hem.

Hanging

Tabs: Pieces of folded fabric applied to top of banner for a piece of wood or metal to be threaded through.

Sleeve: A piece of fabric added to the back of the Banner at the top for a piece of wood to be threaded through.

Poles: Made of Metal or wood- curtain poles can be used/


Further Help

General help with a project and Banner workshops 
Contact Chris 01509 821536
Commissions: East Leake Banner group via Chris.


banner workshop full res-29

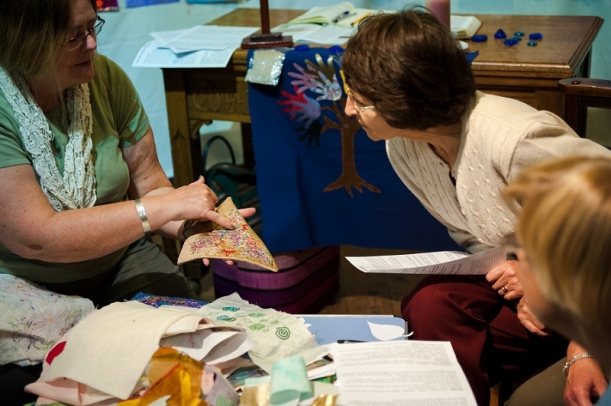
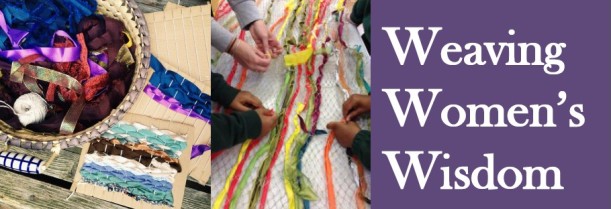
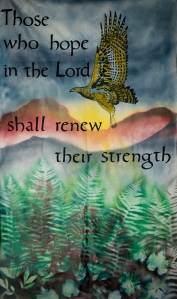
Chris shares an example of a ‘Prayer Flag’

banner workshop full res-35

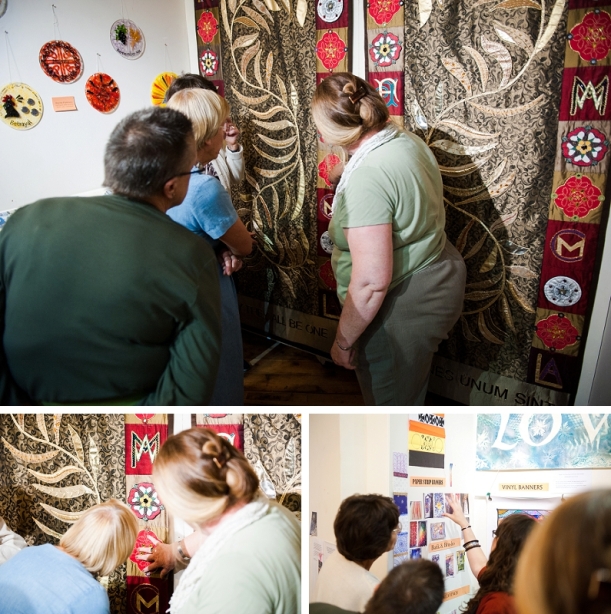
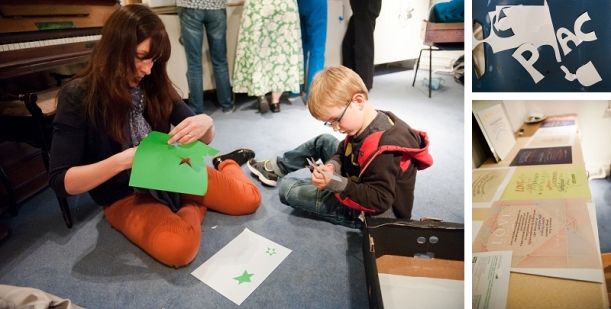
Chris explains how the Banner the group created for English Martyrs was made.

banner workshop full res-37

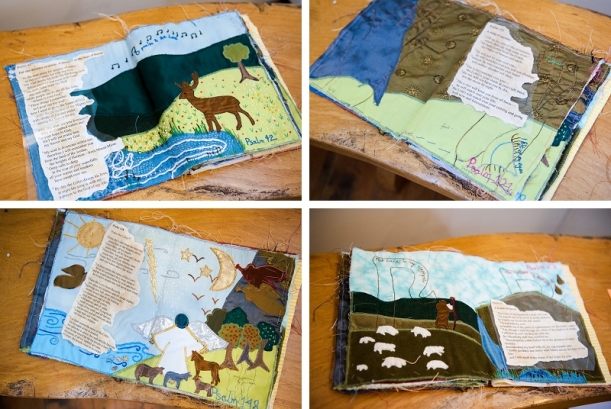
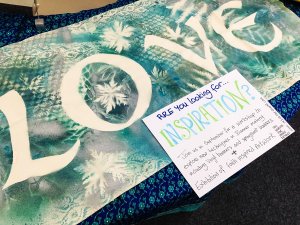
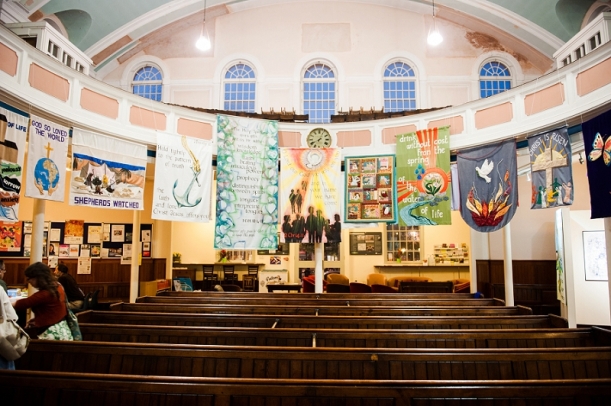
This fabulous book is Chris’s contribution to our Inspired by the Psalms Exhibition currently showing alongside our Banner Exhibition.

banner workshop full res-24

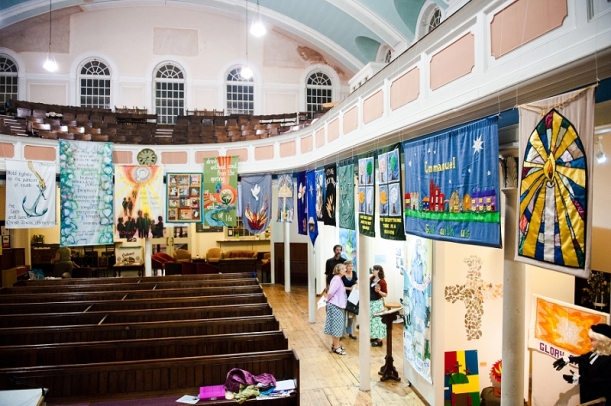
The exhibition is up until September 24th 2014 so if you haven’t seen it yet why not pop in and grab a coffee at the same time.

banner workshop full res-10


Leave a comment

How to make a Spray Paint and Stencil Banner

BISHOP STREET BANNER WORKSHOP PART 1

A big Thank you to everyone who came to the banner workshop last night and to our wonderful workshop leaders Steve, Chris and Miriam. It was a fascinating evening jam-packed with great ideas and inspiration.

Thanks also to Dave my husband for taking these photos during the evening.

banner workshop full res-43

WORKSHOP 1

Bishop Street_0025


This workshop led by Miriam taught the technique I learnt from the wonderful Anne Thalmessinger who uses it in many of her own banners.  When I wanted some special banners for our wedding last year Anne showed  me this techniqueand helped me make some like the ‘love’ one in the photo which hung above the place we said our vows.

Modern Church Banner


The banner on the right is one of Anne’s which shows how she often combines the spray technique with painted elements.

This technique is a quick and effective way to cover large areas of fabric in an eye catching way. It can be used to create backgrounds, borders or whole banners. It can also be used on paper and to decorate things like t-shirts or bunting.


banner workshop full res-1

If you want to create stencil lettering or other drawn elements you first cut them out of paper and use double sided tape to fix them to your fabric. This ensures they don’t get ‘blown away’ with the force of the spray paint.

banner workshop full res-3

Our table of treasures, flat things make the best stencils, especially natural objects like leaves and grasses. Lace, paper dollies and bits of rubbish such as bottle caps all work well. Lighter objects such as feathers will need a spot of double sided to stick them down.

banner workshop full res-2

We used boxes to place our fabric and objects in to help prevent spraying the walls and carpet!! Our fabric came from our local scrap store. Its important to spray directly down to avoid moving the objects. Don’t spray too close put leave above a 15 cm gap between the spray and the fabric. Build up your colours gradually in layers. You may like to move some objects in between colours. We used enamel craft spray from wilkos but any spray paint e.g. car spray paint will do. Why not do a call out at church for any unwanted cans?

banner workshop full res-45

As each workshop was only 20 minutes long including the demonstration the above pieces were made in just over 10 minutes each! If you want a quick and very effective banner making technique why not give it a go!

Modern Church Banner

Banner by Anne Thalmessinger and Sally Clarke showing the spray technique Ruth will be demonstrating.


Love Banners web


Leave a comment

Art Exhibition and Creative Workshop at Bishop Street

Art – the healing spirit

The Remit Exhibition will be showing from Thursday 8th May until Tuesday 20th May 2014. This thought provoking exhibition includes a wide range of artwork and poetry by Remit students.

Remit Art Exhibition, Leicester

Art Workshop

See the flyer below to find out details of the fantastic Art Workshop we are hosting  as part of this exhibition…

Art- The Healing Spirit Workshop leaflet a4 (1)